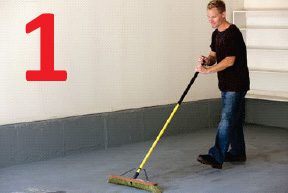
STEP ONE
Clear any objects you do not want to cut around from your garage. Sweep excess dirt and dust from the floor.
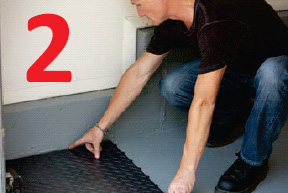
STEP TWO
Begin installation along the longest side wall and the garage door.

STEP THREE
Lay two tiles on the ground with the pegs of one module aligned over the loops of another. Step firmly onto them to lock the pegs into the loops.
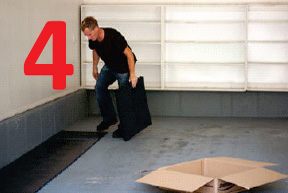
STEP FOUR
Lay a single row of tiles along the garage wall, leaving a 7.00mm to 13.00mm gap between it and the flooring.
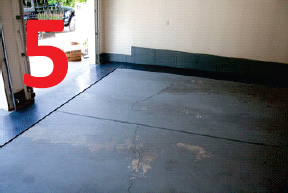
STEP FIVE
Continue your installation across the garage door forming an “L” shape with your garage floor.

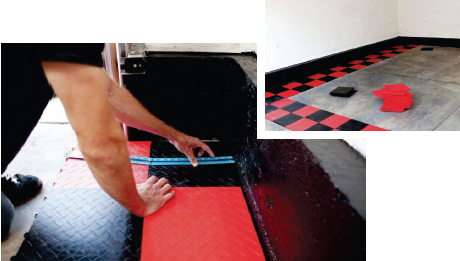
STEP SIX
Fill in the “L” by moving across the garage opening and down the longest wall repeatedly.
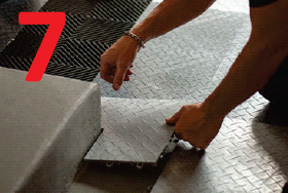
STEP SEVEN
Cut the floor to any size or shape using a table saw, jigsaw, utility knife, etc.. Follow manufacturer’s safety guidelines with these tools.
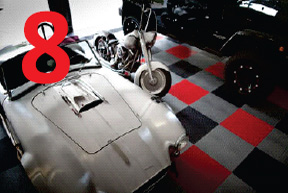
STEP EIGHT
Celebrate your choice of RaceDeck Garage Flooring while enjoying your favorite beverage.
HOW TO REPLACE & REMOVE A SINGLE GARAGE TILE
 Your Racedeck floor interlocks using a patented PowerLock PowerLock® system, which is one loop and one peg, which positively interlock. If you need to disengage this system, for any reason, to remove a tile from the center of the flooring, you can do so using a simple putty knife while following these easy steps:
- Determine the loop and lock orientation of your floor by checking either front corner of the garage to see which way the Loops and lock are facing.
- Insert the putty knife between the modules on the lock side of the module you wish to remove.
- Gently angle the putty knife to compress each lock and remove it from the loop repeating for each lock.
- Using the putty knife lift the bottom of the module up so you may grab and remove from the floor.